Online writing workflow
WordCraft Online Guide: Write, Format and Save a Document
Use WordCraft online to turn a rough brief into a finished document. Follow a complete workflow for headings, tables, page layout, review and saving.
Last updated: 2026-11-05 · 9 min read
WordCraft online is useful when you want to work on a document through a browser without first setting up a desktop installation. To get a dependable result, treat the session as a complete workflow: prepare a file location, draft the content, format it, check it and save a copy you can reopen. The editor is only one part of that process.
This guide follows a short project proposal from rough notes to a delivery copy. You can substitute a meeting brief, class report or client update. Open the online editor page when you are ready, or use the homepage to find the editor alongside the rest of the site's resources. For loading problems or browser-specific save behavior, keep the separate web version troubleshooting guide nearby.
Prepare the session before writing
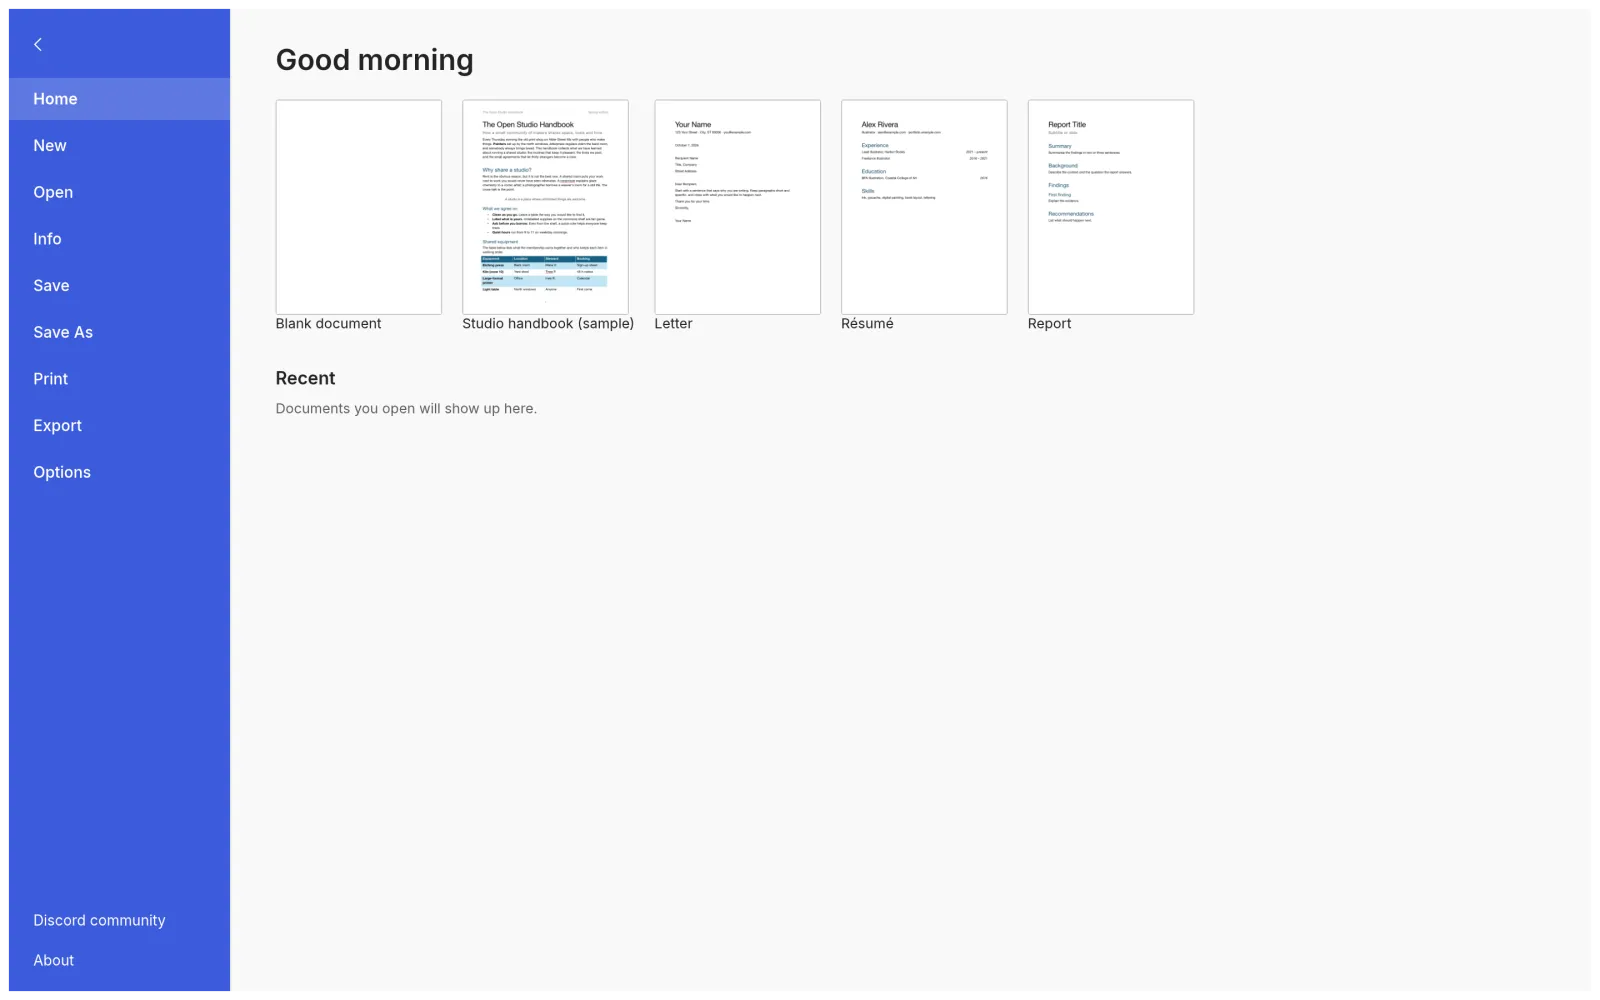
Use a desktop or laptop with enough room to see the ribbon and document together. A keyboard makes a sustained writing session more comfortable. Connect to the internet for the initial application load, let the editor finish starting, then click inside the document before using editing shortcuts.
The online build hosted by this site is based on WordCraft v0.7.0. Upstream releases may be newer, so a screenshot or instruction from a different version may not match every control exactly. The official project is the reference for current development; this guide focuses on a practical writing process rather than promising identical behavior across releases.
Create a destination folder on your computer and decide what you will call the document. For the example, use community-garden-proposal-draft.docx. If you are editing an existing file, copy it into the folder first and preserve the original. A good filename makes it much easier to distinguish today's work from an older download.
Before committing to a long session, type a short test sentence, save it and reopen the saved copy. This takes little time and verifies the most important part of the workflow: getting your work out of the browser. If the browser cannot complete a save, resolve that first.
Start with a reader-focused outline
Imagine that you are asking a neighborhood group to approve a community garden workshop. The reader needs to understand the purpose, the proposed activity, the resources required and the decision you want. Those needs give you four sections: Purpose, Session plan, Resources and Approval needed.
Type the section names as separate paragraphs. Under each, write one sentence describing what belongs there. For example, under Approval needed, write: “Please confirm the venue and approve a materials budget by Friday.” This sentence gives the proposal a concrete destination instead of leaving the reader to guess what to do next.
Keep the outline short enough to inspect at a glance. If two sections answer the same question, combine them. If a section contains both background information and an action request, separate those ideas. Fixing the structure now is easier than moving fully formatted pages later.
An outline also limits unnecessary research and decoration. You do not need a long history of community gardening to request approval for a two-hour event. Include the information necessary for the decision, then put optional background in a brief appendix only if it serves a real purpose.
Write the first draft before polishing the page
Expand each outline sentence into a short paragraph. Start with the main point, then add the detail that supports it. Under Purpose, explain who benefits and what they will learn. Under Session plan, describe the sequence of activities. Under Resources, identify what is needed and who will supply it.
Use concrete language. “Participants will plant two seed trays and take home a watering schedule” is easier to evaluate than “The event will empower sustainable engagement.” A reader can estimate time, supplies and expectations from the concrete version.
Write missing details as visible reminders such as [confirm venue], then resolve them before sending the proposal. Do not insert plausible dates or costs just to make the draft look complete. If an estimate is necessary, label it as an estimate and explain what would change it.
For longer text, draft one section at a time and save after a meaningful block of work. A useful checkpoint is finishing a section or completing a substantial revision. The exact interval matters less than remembering that an open browser tab is not itself a verified copy of the document.
Once the draft exists, read only the first sentence of each paragraph. Those sentences should tell the story of the proposal. If they do not, revise the order or the topic sentences before adding more words.
Format the content for the reader
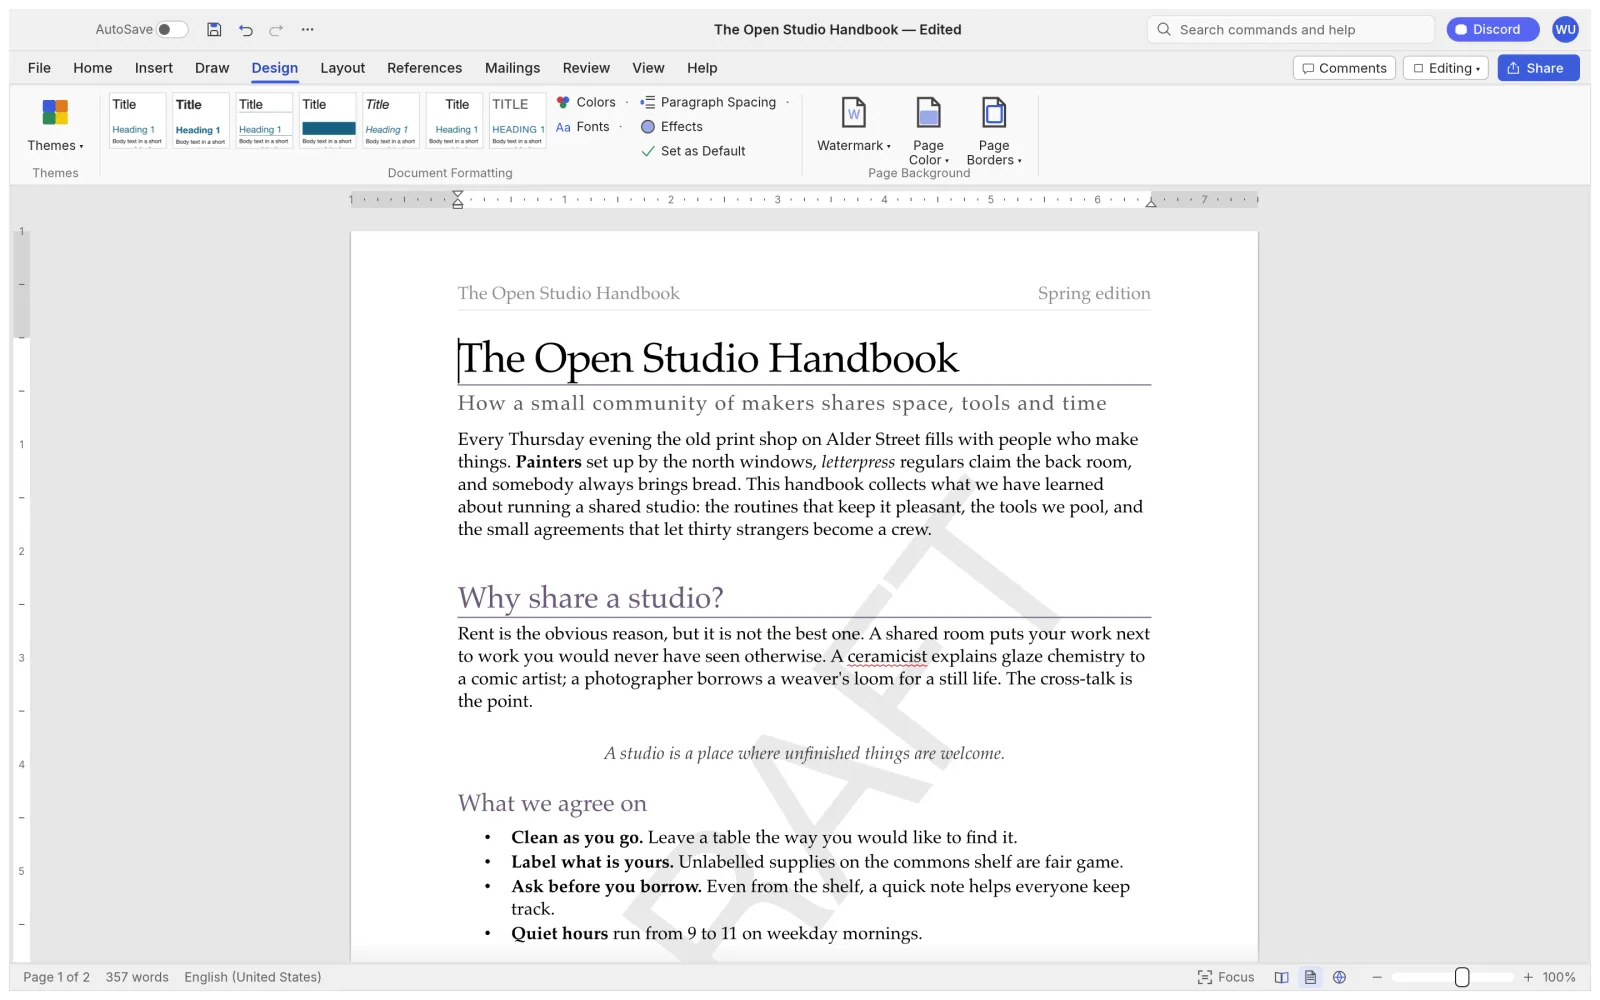
Apply a Title style to the document name and Heading 1 to the four main sections. If the session plan needs subsections, use Heading 2 for Preparation and Activities. Keep ordinary paragraphs in the same body style. The app guide explains this structure in more detail if you are new to styles.
Choose a small set of formatting decisions and apply them consistently. One body font, one heading treatment and a restrained accent color are enough for a short proposal. Bold should help a reader find a deadline or decision; if nearly every sentence is bold, the emphasis stops helping.
Use paragraph spacing rather than a series of empty paragraphs to create visual rhythm. Use a proper numbered list for a sequence and a bulleted list for items whose order does not matter. Reserve manual line breaks for cases where two lines really belong to the same paragraph.
If you paste text from another source, inspect it immediately. Unexpected fonts, tiny text or unusually large gaps can arrive with pasted formatting. Normalize the text to your document's styles before continuing. Cleaning a small pasted section now is less work than untangling inconsistent formatting across several pages.
Do not chase an exact screenshot layout. Your content, fonts and page size may differ. Aim for a document with a clear reading order and enough space to distinguish sections, then inspect the actual output.
Add tables and images only when they improve understanding
For the resources section, create a simple table with Item, Quantity and Responsibility columns. Enter a few real items: seed trays, potting mix and printed instructions. A table makes sense here because each row describes the same kinds of information. It would be less helpful for a long explanation of the workshop's purpose.
Keep the number of columns small. If every cell wraps into five lines, the table is probably trying to hold too much information. Shorten labels, move an explanation into a paragraph below, or divide the table into two smaller sections. Inspect the longest entry rather than judging the table from its shortest row.
Add an image only if it communicates something that words cannot explain as efficiently. A simple venue plan may help participants find the meeting point. An unrelated decorative photograph may make the file larger without making the proposal clearer. Use an image you have permission to include and add a caption explaining its role.
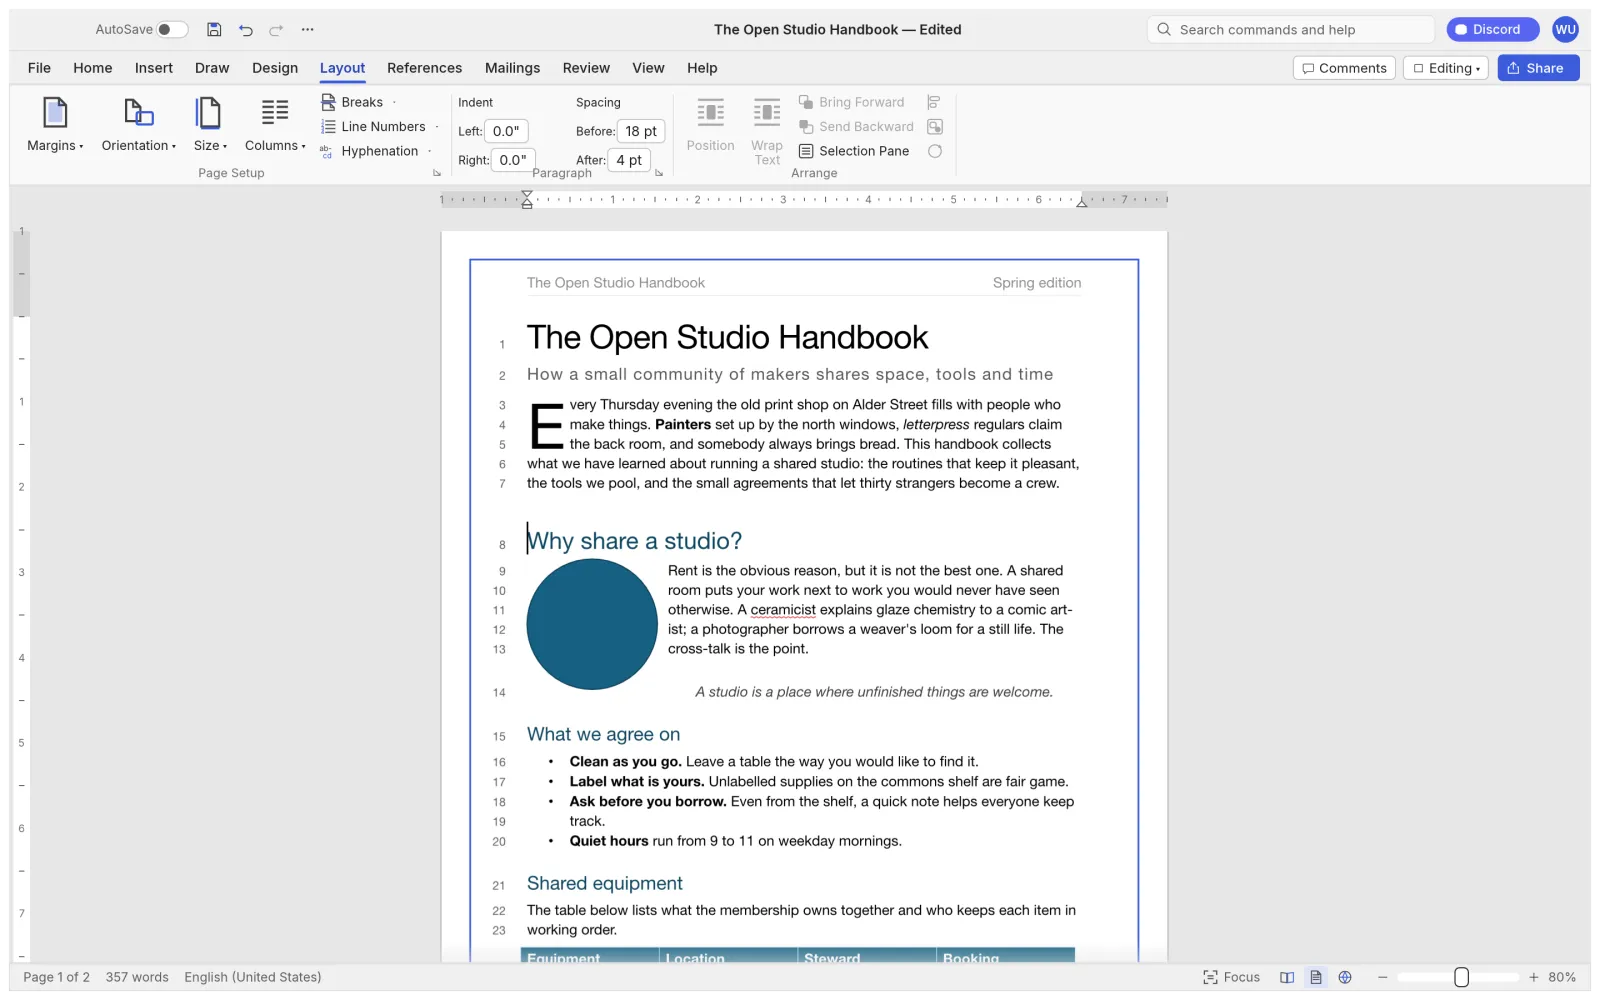
Before finalizing, confirm the page size and orientation. Review the bottom of each page for isolated headings, split tables or large gaps. If a heading sits alone at the foot of a page, investigate paragraph or layout settings rather than adding repeated blank lines above it. A fix should survive the next edit.
For browser font issues, consult the web version guide. A different available font can change line lengths and page count; layout adjustments made before resolving that difference may need to be repeated.
Review for accuracy, readability and a clear next action
Run three short review passes. First, verify factual details: names, dates, quantities, locations and contact information. Second, check the reading order and remove repetition. Third, inspect formatting and page layout. Separating these passes makes it less likely that attractive formatting distracts you from an incorrect date.
Read the proposal as someone who has not heard your verbal explanation. Can they tell what is being proposed, what it costs or requires, and what they need to approve? Replace vague references such as “next week” with an explicit date when the document may be read later.
If another person will review the file, agree on how feedback will return. They might annotate a PDF, comment on an editable copy or send a short list of changes. An online editor does not automatically imply a shared cloud document or simultaneous collaboration. Choose a handoff that you have actually tested.
When using comments or tracked edits, inspect a saved copy in the recipient's application before relying on the process for important work. The DOCX compatibility guide provides a repeatable round-trip test. For a simple approval request, a clean PDF plus a clear response instruction may be sufficient.
Save an editable master and verify the delivery copy
Save the editable document first. Complete the save dialog if one appears; if the browser downloads a file, identify it in the downloads list and move it into your chosen folder. Do not assume that a familiar filename means the original file was updated in place.
Use a revision name that describes the state of the document, such as community-garden-proposal-review.docx. Avoid accumulating names like final-final-2. If you maintain dated revisions, use a consistent date format and keep the newest approved version easy to identify.
If the recipient needs a fixed reading copy, export a PDF using the available File options. Open that PDF separately. Check page count, heading placement, table rows, picture captions and the final paragraph. Where links matter, click them. Where search or copying matters, select a sentence to verify the output meets your needs.
Finally, reopen the saved DOCX from the destination folder and check a sentence you changed near the end of the session. This distinguishes the current revision from an earlier copy. Keep the editor open until these checks are complete, then close the session knowing that a usable file exists outside the tab.
Common questions about WordCraft online
Do I need to sign in before opening the editor?
The online editor hosted on this site can be opened without creating a site account. Start from the online page. The site's other account features are separate from opening the editor.
Does online mean my document is automatically stored in a cloud drive?
No. Do not infer cloud storage or synchronization from the fact that the app runs in a browser. Follow the save flow and verify a file on your device. Browser caches and preferences are not a substitute for a document backup.
What should I send: DOCX or PDF?
Use the format that matches the recipient's task. DOCX is appropriate for an editable handoff you have tested; PDF is useful for a reading or printing copy. Retain the editable master even when you only send the PDF.
Can I continue on a different computer?
Transfer the saved file through your chosen storage or sharing method, then open it on the other computer. Do not assume that returning to the same URL on another device will restore the previous document.
What should I learn after this workflow?
Try the full tutorial for individual commands, the app guide for a structured introduction, or return to the homepage to choose between online access and a desktop download.