Getting started
WordCraft App Guide: From First Launch to a Finished Document
Learn the WordCraft app with a practical first-document exercise: choose desktop or web, use styles, add a table, review edits and save a usable copy.
Last updated: 2026-11-05 · 9 min read
The quickest way to learn the WordCraft app is to finish a small document that you would actually send to someone. A one-page project brief is a better first exercise than a complicated résumé or an imported manuscript: it gives you a reason to try headings, paragraphs, a short table and a final export without introducing dozens of formatting problems at once.
This guide takes you from choosing a version to reopening a saved file. You can follow it with a desktop installation or start from our WordCraft homepage, which brings together the online editor, downloads and tutorials. Allow yourself a little extra time on the first attempt. The goal is a repeatable writing routine, not memorizing every ribbon button.
What is the WordCraft app?
WordCraft is an open-source word processor developed by ArtCraft. Its familiar ribbon organizes tools for writing, document formatting and review. The project supports DOCX documents and offers native desktop and browser builds. WordCraftApp, the site you are reading, is an independent guide and access point; it is not the developer. See the official project repository for the software and its documentation.
For a first project, think of the app as a place to organize information into a document that another person can read and edit. A heading gives the document structure, a paragraph explains an idea, and a table makes repeated information easy to compare. Those three building blocks matter more than decorative effects.
Choose a realistic but low-stakes task. A meeting agenda, reading note or project brief works well. Keep the original copy of any imported document, and use a separate practice file while learning unfamiliar commands. If your main question is whether it fits an existing Microsoft Word workflow, start with the WordCraft compatibility and evaluation guide.
Choose desktop or web before you begin
Use the online editor when you want to try the interface without installing an application. Use the desktop download guide when you expect to write regularly on the same computer. Follow the official release links there, and check the release date when choosing a download: the version hosted on a website may differ from the newest desktop release.
The choice is mostly about your working environment. If you move between computers, a browser is convenient for a quick session, provided you know how you will take your document with you. If you frequently work without a connection, test the installed app before relying on that workflow. Opening a web page once is not a promise that every browser will launch it offline later.
Before writing, make a folder called WordCraft practice. Put both the editable file and any exported copies in it. This small preparation prevents a common beginner problem: finishing a document successfully but being unable to identify the correct file in a crowded Downloads folder.
Build a first document with a clear purpose
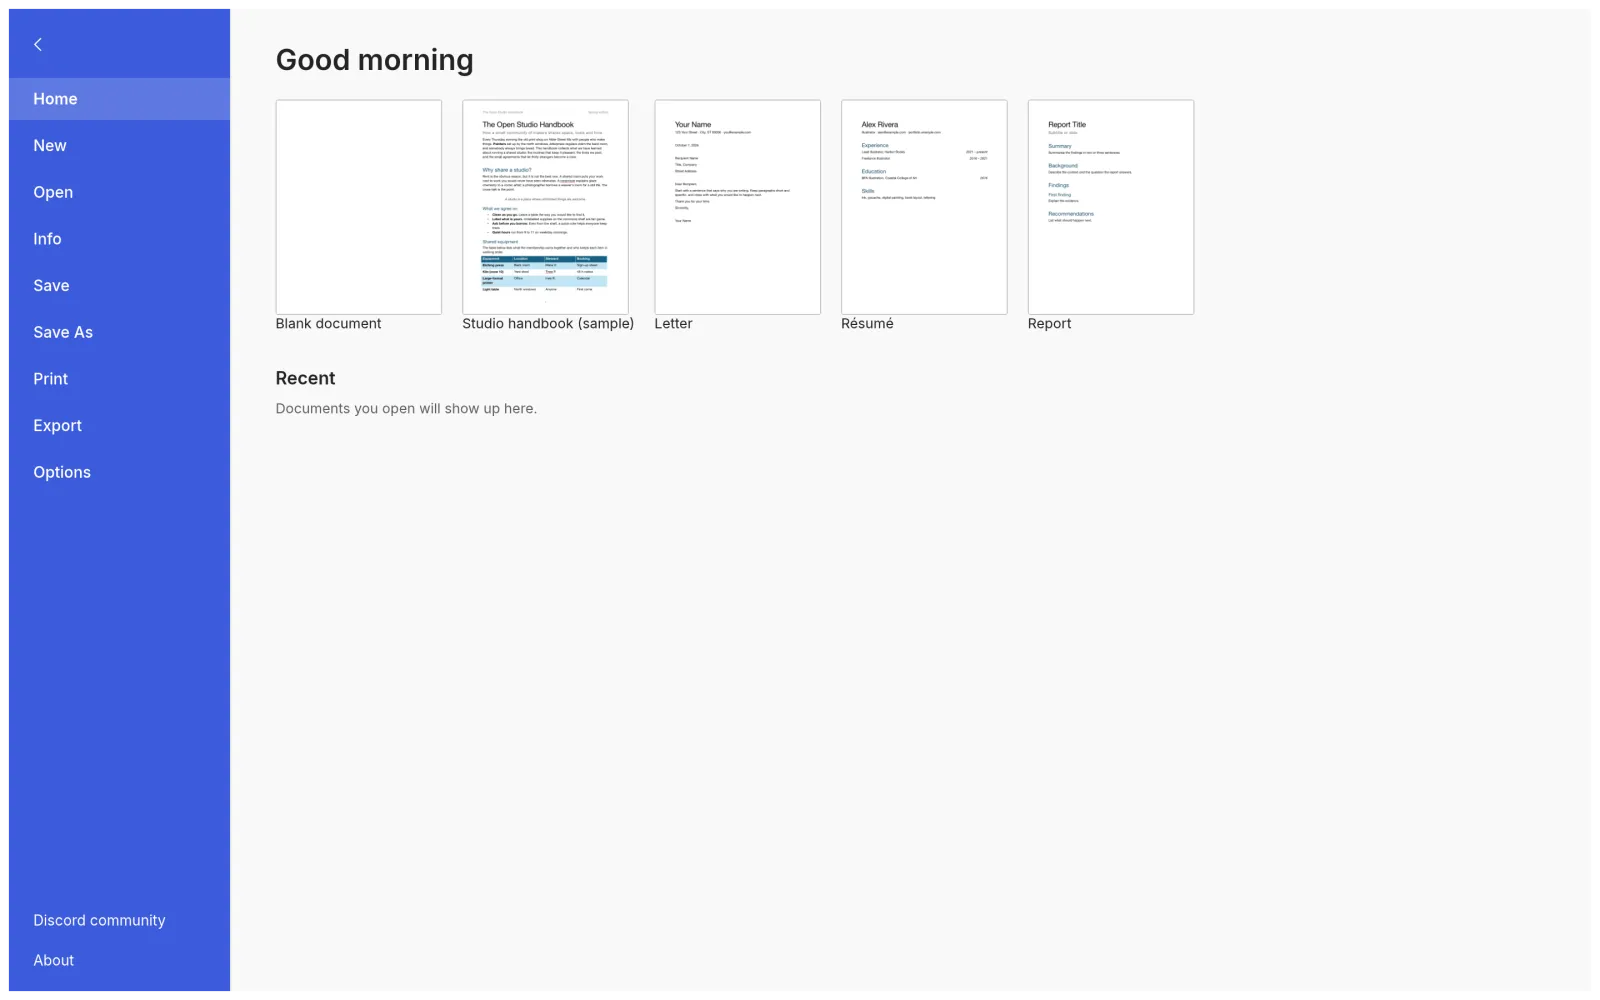
Start with a blank document. If you prefer to inspect a sample first, open it separately, look at how headings and body text are arranged, then create your own file. Replacing random sections of a long sample often leaves behind formatting that is difficult to understand.
For this exercise, write a project brief for a community workshop. Type the following pieces as separate paragraphs: a title, a one-sentence purpose, and three section names—Audience, Plan and Next steps. Under each section, add two or three sentences. For example, the purpose might be: “Introduce six neighbors to basic bicycle maintenance in a ninety-minute session.”
Keep the content deliberately plain at this stage. Describe who will attend, what they need to bring, and what happens after the session. Do not spend ten minutes choosing a title color before deciding what the reader needs to know. Content decisions are much easier before the page is crowded with formatting.
Now save a first copy with a recognizable name such as workshop-brief-draft.docx. In the browser, complete the file prompt or locate the downloaded file. A canceled dialog does not count as a successful save. This early save gives you a known starting point and lets you discover file-permission problems before you have written several pages.
Use styles to make the document easy to maintain
Select the title paragraph and apply the Title style if it is available. Apply Heading 1 to Audience, Plan and Next steps. Use a normal body style for the explanatory paragraphs. A heading should describe the material below it; “What participants should bring” is more informative than “Other information.”
The practical advantage of styles appears when the document changes. If every section heading is a separately formatted line of bold text, you must check each one when adjusting the appearance. Consistent styles give you a systematic way to keep similar information looking similar. They also make it easier to inspect the outline before reading every sentence.
Use Heading 2 only when a section genuinely needs subsections. In the Plan section, you might add Preparation and Workshop schedule. Avoid jumping straight from a major heading to a deeply nested level simply because you prefer the smaller font. Structure and appearance should be separate decisions.
Look at the Home ribbon and the navigation area, then move between your headings. If a section is missing from the outline, check whether you applied a heading style or merely enlarged the text. To learn the ribbon in more detail, the general tutorial provides a command-oriented reference.
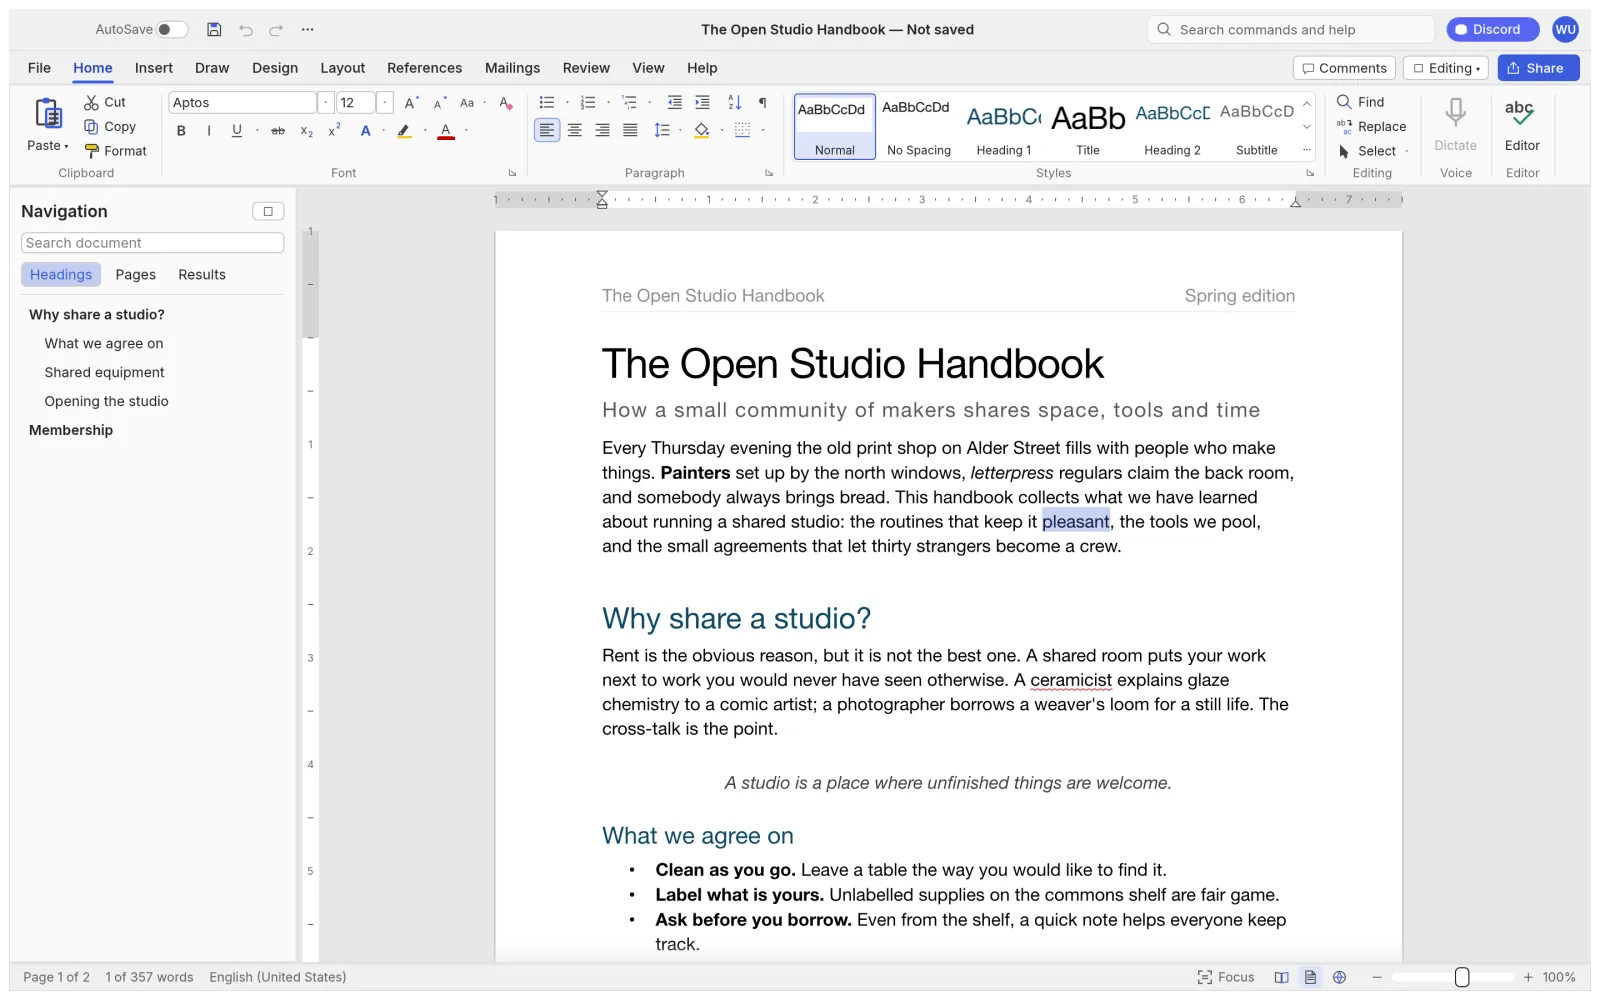
For the body, choose a readable size and moderate paragraph spacing. Use paragraph settings instead of repeated blank lines to separate ideas. Use a real list for materials or action items. Pressing the space bar many times to align text may look acceptable in one window but can shift when a font or page width changes.
Add one useful table and check the page
Under Workshop schedule, insert a small table with three columns: Activity, Owner and Minutes. Add rows for Introduction, Demonstration and Practice. Keep entries short enough that each row can be read without horizontal scanning. The table should help someone run the session, not simply fill empty space.
Give the header row a clear visual distinction and inspect whether the columns have sensible widths. If the activity names are wrapping while the minutes column is mostly empty, adjust the balance. When a table becomes too wide, first simplify the wording or split the information; shrinking every character is rarely the best first fix.
Next, check the page size, margins and orientation. Use the paper size your recipient expects. A document prepared for A4 may break differently on Letter paper, even when the words are identical. If the brief spills onto a second page, review unnecessary spacing and long sentences before reducing the font size.
For your first exercise, skip floating pictures and complex text boxes. Add them later when the basic layout is stable. A simple document that survives reopening is more useful than an elaborate document whose last line disappears after an edit. The online writing workflow includes a fuller example of preparing a brief for delivery.
Review the content, then prove that the save worked
Read the document once as the author and once as the recipient. On the first pass, correct names, dates and instructions. On the second, ask whether a reader can find the location, time, required materials and next action in a few seconds. This catches gaps that a spelling check cannot identify.
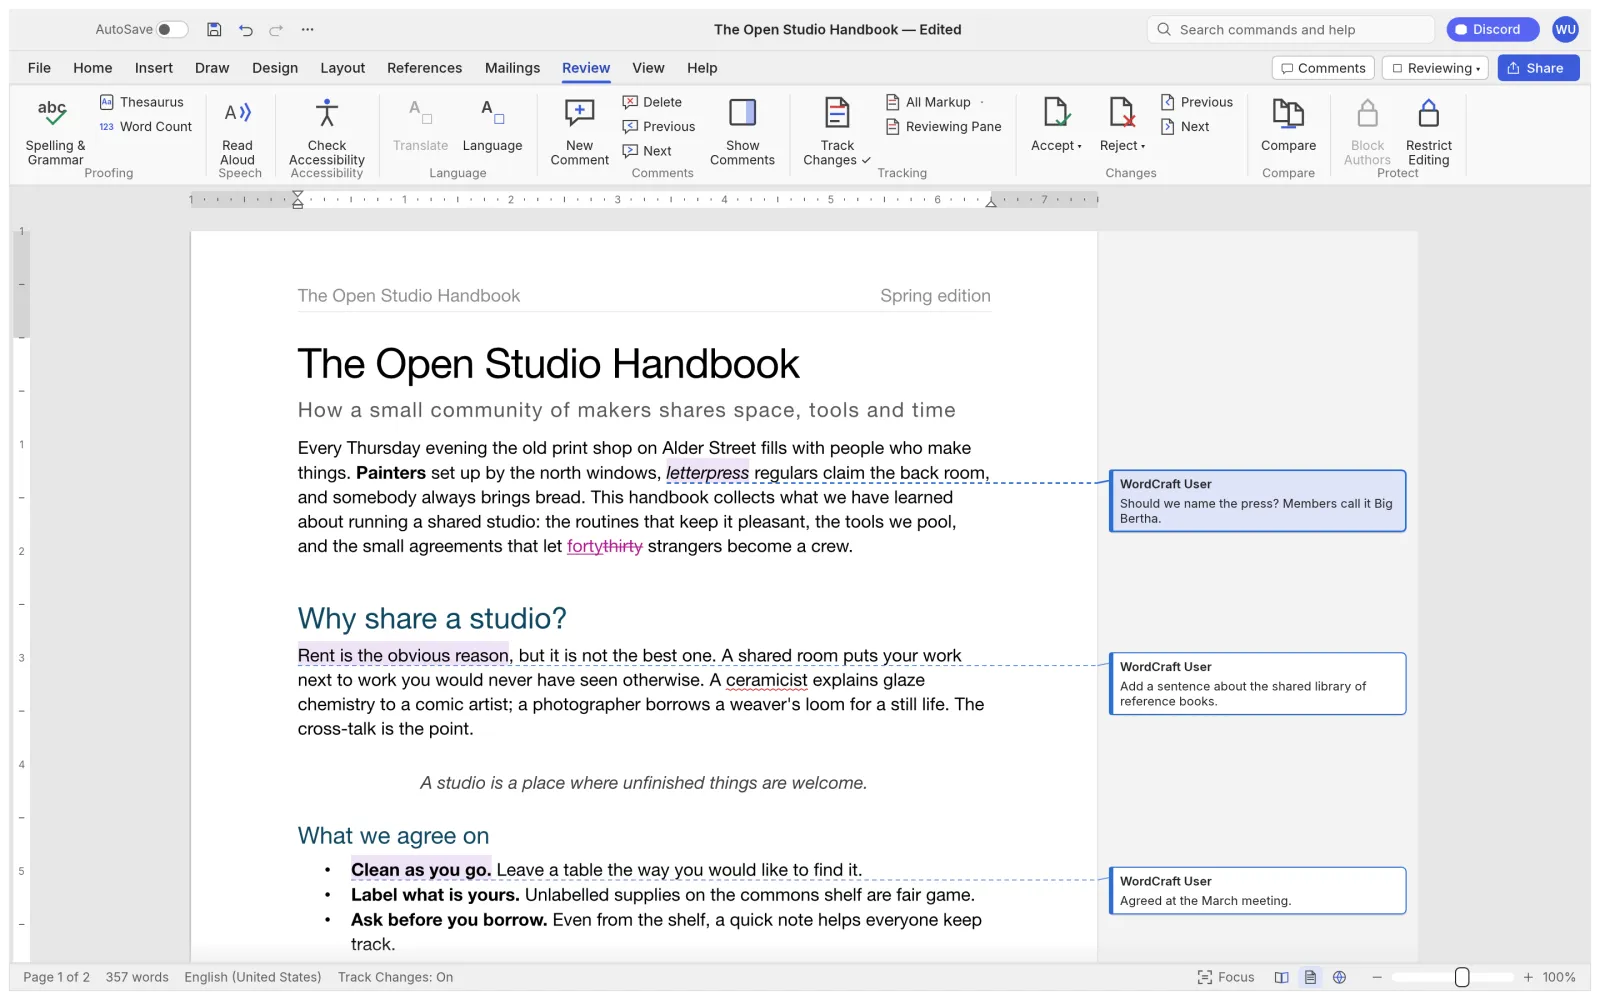
If you are practicing comments or tracked edits, use a duplicate. Add one comment asking whether the session needs a rain plan. Make one deliberate wording change, inspect how the change appears, and decide whether to accept it. Learning with one obvious edit is easier than interpreting a heavily marked-up document.
Save the editable DOCX again. If the recipient only needs to read or print the result, create a PDF as a separate delivery copy using the export options available in your build. Keep the DOCX as the working source so that later revisions do not require reconstructing the document from a PDF.
Open the saved copy before declaring the exercise finished. Check the title, the final sentence, the table and any comments you intended to preserve. For a PDF, inspect every page at a normal reading size and check for a blank final page. A file appearing in a folder proves that a file exists; reopening it checks whether it contains the result you intended.
Build a useful first-week routine
Repeat the same workflow with three small documents: an agenda, a two-page note and a simple report. Reuse the sequence—outline, draft, style, review, save, reopen—so that the basic process becomes predictable. Learn one additional feature per document instead of trying every feature at once.
Keep a short checklist beside your practice folder: descriptive filename, consistent headings, correct page size, verified saved copy. When something goes wrong, record the exact step and the version you were using. “The table changed after reopening this DOCX” is a more useful observation than “the app is broken.”
After these exercises, try a copy of a real document. Start with the least complicated example in your collection. If that works well, move to longer files with more demanding layouts. This progression gives you evidence about your own documents rather than relying on a general claim about compatibility.
Common questions about getting started
Do I need to install WordCraft to follow this guide?
No. You can begin through the online access page. For a browser session, make saving and reopening your first exercise. Desktop installation is a separate option, with platform choices on the download page.
Is WordCraftApp the official WordCraft developer?
No. WordCraft is developed by ArtCraft. This site supplies independent guides and an online access point. Use the official project links for release information and upstream development details.
Should I start with a template or a blank page?
A blank page makes the first exercise easier to understand because every style and object is something you added. A template becomes helpful once you can recognize its structure and remove sections you do not need.
Why does my document look different after opening it elsewhere?
Check fonts, paper size, margins, table widths and floating objects first. The compatibility guide explains a controlled comparison. Keep both the original and edited files until the recipient has checked the result.
What if the browser shows a blank editor or I cannot find my saved file?
Use the web version troubleshooting guide. It separates startup issues, browser permissions, font substitution and save locations so that you can investigate one cause at a time.